

Using the gradient engraving function on a CO2 Laser Engraver With Rotary can open up a world of creative possibilities, allowing you to add depth and dimension to your engraved designs. As a supplier of these advanced machines, I'm excited to share some insights on how to make the most of this unique feature.
Understanding Gradient Engraving
Gradient engraving involves creating a smooth transition of depth or intensity within an engraved area. This technique can simulate shadows, highlights, and three - dimensional effects, making your designs more visually appealing. On a CO2 Laser Engraver With Rotary, gradient engraving can be applied to cylindrical or round objects, such as bottles, cups, and tubes.
Preparing Your Design
The first step in using the gradient engraving function is to prepare your design. You can use graphic design software like Adobe Illustrator or CorelDRAW to create or import your artwork. When designing for gradient engraving, keep in mind the following points:
- Resolution: Ensure that your design has a high enough resolution. A resolution of at least 300 DPI (dots per inch) is recommended to achieve a smooth gradient effect.
- Color Mapping: Most laser engraving software allows you to map colors to different engraving depths or intensities. Decide which colors in your design will represent different levels of the gradient. For example, you might use a lighter color for a shallow engraving and a darker color for a deeper one.
- Vector vs. Raster: Gradient engraving is typically done using raster images. However, you can also convert vector elements into raster if needed. Make sure your design is in the appropriate format for your laser engraver's software.
Setting Up Your CO2 Laser Engraver With Rotary
Once your design is ready, it's time to set up your CO2 Laser Engraver With Rotary.

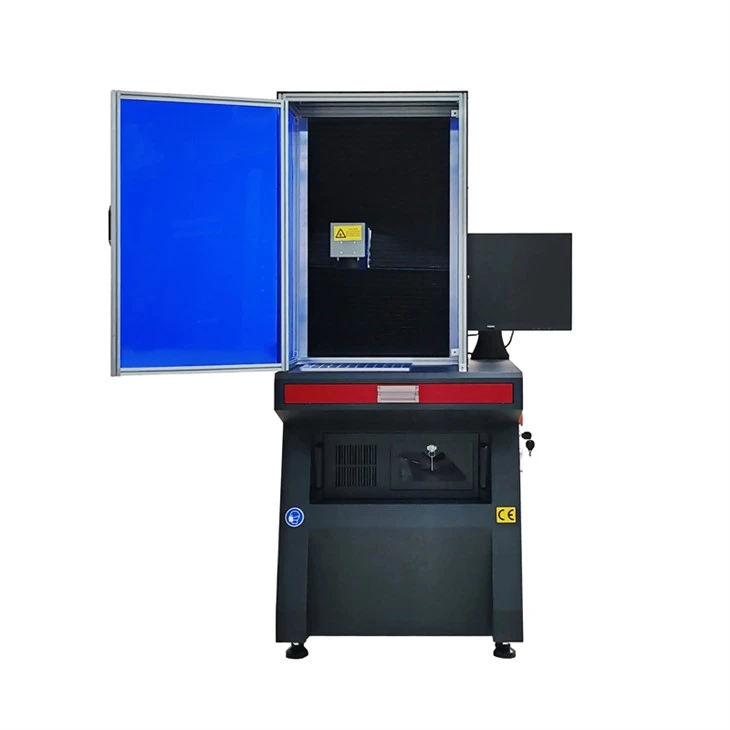
- Calibration: Proper calibration is crucial for accurate gradient engraving. Follow the manufacturer's instructions to calibrate the rotary attachment and the laser head. This ensures that the laser beam is focused correctly and that the object rotates smoothly during the engraving process.
- Material Selection: Different materials respond differently to laser engraving. Test your design on a scrap piece of the same material you plan to use for your final project. This will help you determine the optimal settings for achieving the desired gradient effect. Some common materials suitable for CO2 laser gradient engraving include wood, acrylic, leather, and glass.
- Software Configuration: Open your laser engraving software and import your design. Configure the software settings according to your design requirements. Set the engraving speed, power, and frequency based on the material and the desired depth of the gradient. Most software allows you to adjust these parameters for different colors in your design, enabling you to create a multi - level gradient.
Performing the Gradient Engraving
With everything set up, you're ready to start the gradient engraving process.
- Loading the Object: Carefully place the cylindrical object on the rotary attachment. Make sure it is centered and secured properly to prevent any movement during engraving.
- Preview and Test: Before starting the full engraving, use the preview function in your software to check the layout and settings. You can also perform a test run on a small area of the object to ensure that the gradient effect is as expected. Adjust the settings if necessary.
- Engraving: Once you're satisfied with the test results, start the engraving process. Monitor the machine closely during the engraving to ensure that everything is running smoothly. If you notice any issues, such as uneven engraving or excessive burning, stop the machine immediately and make the necessary adjustments.
Troubleshooting and Tips
- Uneven Gradient: If you notice an uneven gradient, it could be due to improper calibration, inconsistent material density, or incorrect software settings. Check the calibration of the rotary attachment and the laser head. Also, make sure that the material is of uniform quality. Adjust the engraving speed, power, and frequency as needed.
- Burning or Charring: Excessive burning or charring can occur if the laser power is too high or the engraving speed is too slow. Reduce the power and increase the speed to prevent this issue. You can also use a cooling fan or a misting system to keep the material cool during engraving.
- Fine - Tuning: Achieving the perfect gradient may require some trial and error. Don't be afraid to experiment with different settings and techniques. Keep a record of your test results to help you replicate successful gradient engravings in the future.
Related Products
If you're interested in exploring more advanced laser engraving options, we also offer a range of related products. Check out our Co2 Galvo Laser Marking Machine, which provides high - speed and precise marking capabilities. Our 30w Co2 Laser Cuttting machine is ideal for cutting through various materials with ease. And for those looking for a reliable and efficient engraver, our Rf Co2 Laser Engraver is a great choice.
Conclusion
The gradient engraving function on a CO2 Laser Engraver With Rotary is a powerful tool that can take your laser engraving projects to the next level. By following the steps outlined above and experimenting with different settings, you can create stunning, three - dimensional engraved designs on cylindrical objects. If you have any questions or are interested in purchasing a CO2 Laser Engraver With Rotary or any of our related products, we encourage you to contact us for a detailed discussion. Our team of experts is ready to assist you in finding the best solution for your engraving needs.
References
- Laser Engraving Handbook: A Comprehensive Guide to Laser Engraving Technology and Applications
- Manufacturer's Manual for CO2 Laser Engraver With Rotary